
We all know image search is a modern way to explore the web. But there are only a few tools on the internet that let you make the most of this search method.
This is why many searchers keep trying different online picture search choices just to find the best one. If you are also one of those, meet ReverseImageSearch.org, an advanced and trusted option to search by image.
It can help in many situations, like verifying image authenticity, finding people by their images, monitoring your online presence, etc. But to make the most out of this tool, you must know how exactly to use it.
For your convenience, we have created this detailed guide to enable you to easily use this tool. However, before that, let’s discuss why you should choose it over others.
Why Choose ReverseImageSearch.org For Image Search?
A simple Google search for tools equipped with image recognition technology yields numerous options. But ReverseImageSearch.org outperforms all of them in certain areas that make it stand out from the crowd.
Here are some factors that give it an edge over others and make it a perfect option to search by image:
- You don’t need any specific device, browser, or operating system to access it.
- Its research accuracy is significantly higher than that of many others, thanks to AI integration.
- The tool generates results in just a few seconds without any redirects.
- Users get the facility to narrow down search results with the help of a few filters.
- This image search tool provides you with a categorized view of matching pictures.
- All the similar images come with a valid source URL and offer seamless navigation.
- You will not find any clutter or disorganized elements around its input and result areas.
- Above all, the tool is free to use, allowing you to utilize the full power of visual searches.
Using ReverseImageSearch.org To Search By Image
The developers of ReverseImageSearch.org have made it pretty simple. Even someone with no previous experience using online tools can easily search by image on this web-based platform. But since you have never used it before, here is a detailed step-by-step guide on how to use it.
First, Access The Tool
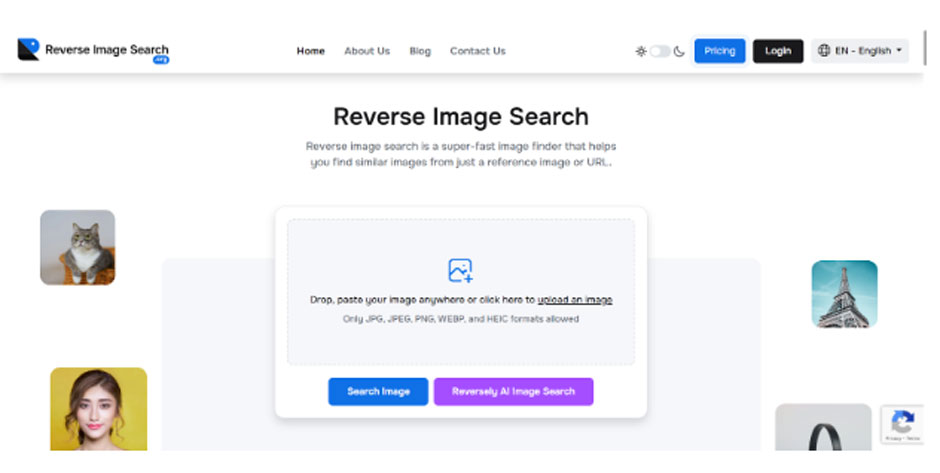
The initial move to get started with this reverse image search tool is obviously to access it online. As we have already mentioned, you can access it on any device you have. There is no need to sign up, as the tool works directly without asking you to create a user account. As you land on its webpage, a simple, ad-free interface with a decent color combination appears on your screen.
Then, Upload The Intended Photo
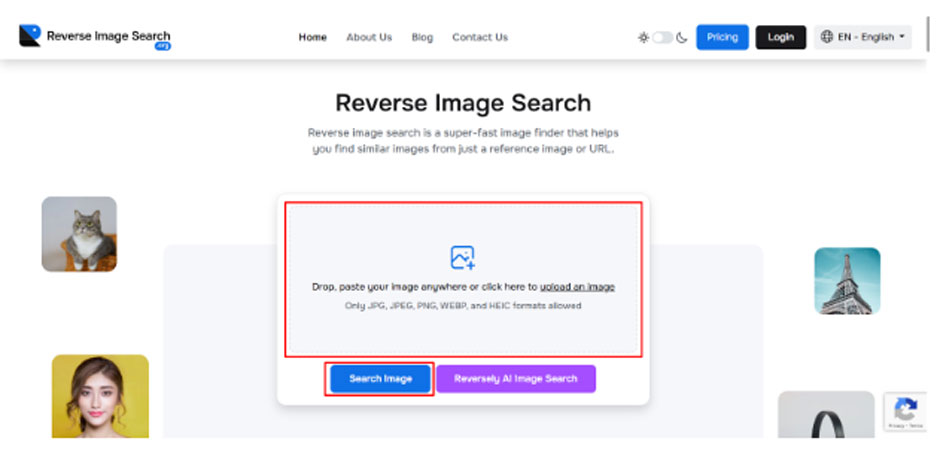
After accessing ReverseImageSearch.org, you can easily see an input box at the top of its web page. There, it offers you two ways to provide a reference image: first, the drag-and-drop option; second, the file upload option. It’s totally up to you which method you prefer to insert an image input to this tool.

If we further explore its second input method, you again have two options: first, upload a photo by clicking anywhere inside the box; second, click the “Search Image” button. In both cases, your phone, laptop, tablet, or PC opens your image gallery, so you can pick the image you want to use.
Let The Tool Show Matches
As you provide the tool with a sample image, it immediately scans it using advanced AI and photo recognition technology. You don’t even need to press any button to get started. Then, it conducts an instant similarity check across a wide range of web pages (over millions) to find the most similar matches. Finally, the tool shows all the identical photographs along with their sources.
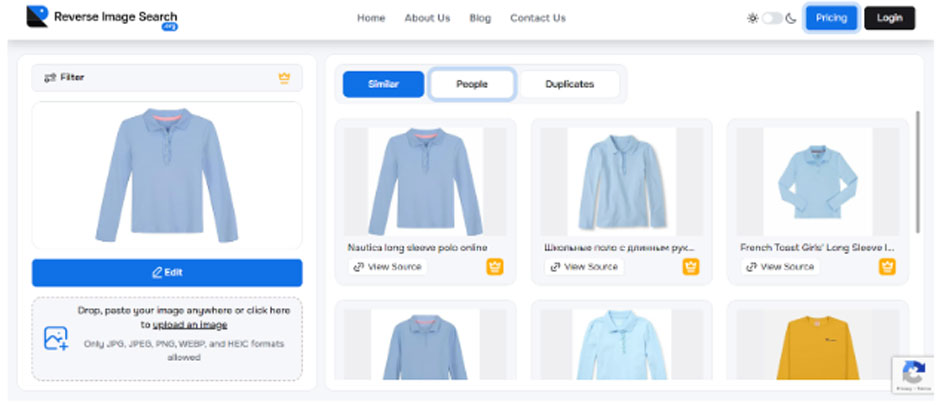
Review Results Carefully
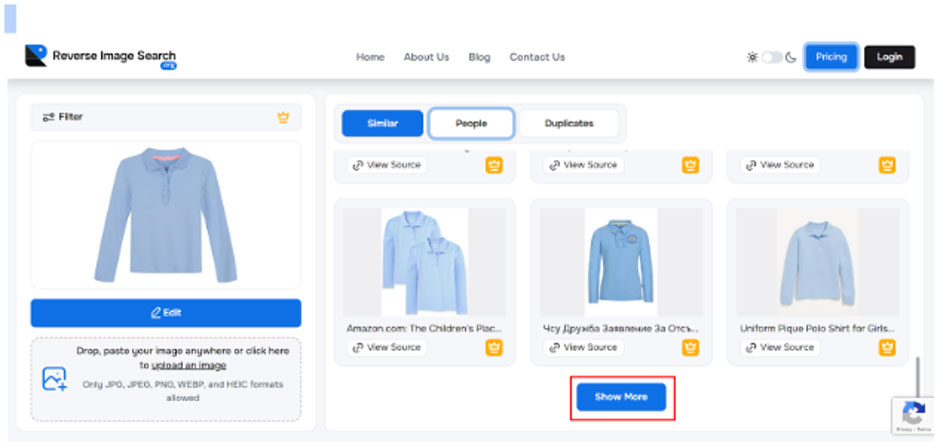
Once the results appear, examine the matching pictures and their sources carefully to meet your search purpose. For instance, if you want to search for better options to buy a product from, see the matches and keep an eye on its source. Similarly, if you’re trying to find out where else a particular picture appears, watch out for its duplicates in results and note the platforms it’s featured on. In case you want more matches, simply click the “Show More” button.
Use Its Built-In Editor If Needed
Sometimes, your image may contain more than one object, but you just want to search for a specific one. So when you upload the full image, you might find some matches you didn’t expect. But the good news is that you can increase the result relevance by using the built-in editor of this image search tool.
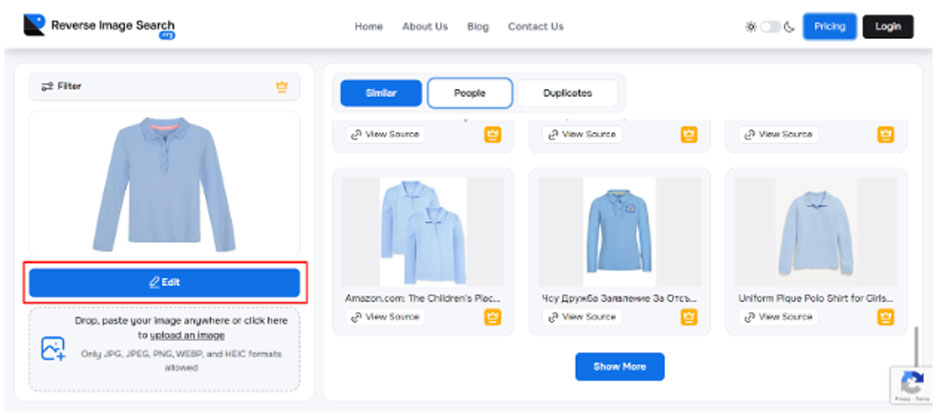
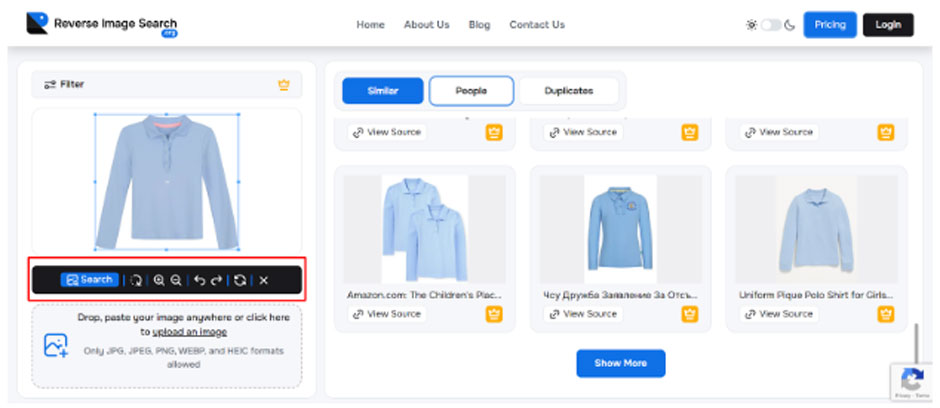
For that, you just need to click the “Edit” button. As you do so, all the available basic editing options appear. With these options, you can crop, zoom in or out, and rotate images on both the right and left sides. So, if you want to search for a particular object in a photo, you can use this facility for your benefit.
Tips For Effective Use Of ReverseImageSearch.org
By now, we hope that you have learned all the steps involved in searching by images using ReverseImageSearch.org. But still, there are some tips that you need to know to utilize the full potential of this image search tool. These practices will help you get better results. So, walk through them:
- Before conducting an image search, ensure that your internet connection is working properly.
- Always upload a high-quality image so that the tool can recognize its features precisely.
- Look for the matches in the right result category, like “Similar,” “Duplicate,” and “People.”
- Make sure that the photograph you want to upload has one of the supported formats.
- Pay close attention to the matches and review them in context to your search purpose.
To Sum Up
In a nutshell, searching by image on ReverseImageSearch.com requires you to just upload the image and analyze matching pictures attentively. Now that you know how exactly to use this reverse image search tool, don’t hesitate to capitalize on it whenever needed. We hope that its results will surely help you to find what you really want.